

You've taken the first step to watering your plants in a healthier, more eco-friendly way! But how long is your moisture sensor going to last? You can make sure your moisture sensor lasts a lot longer by following just a few simple tips.
1. Loosen the soil before inserting the moisture meter. Before inserting your moisture sensor, find a fork, a screwdriver, or any similar object, and twist it in the soil to listen. This will make the insertion easier on the metal part of the sensor, which can break in overly tough soil. This is especially important to remember when you are testing a plant in tougher soil.
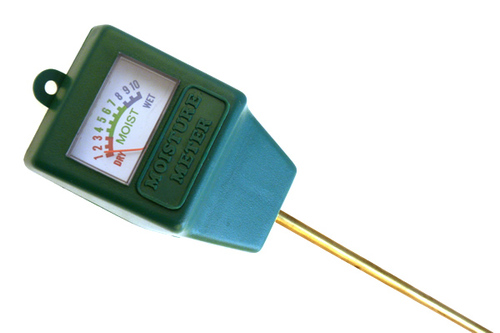
2. Insert the moisture sensor into the soil gently. The sensor is made of metal, but that doesn't mean it can't break! A little finesse goes a long way in keeping your moisture sensor safe. Just take it slow and try not to twist the meter suddenly. If gets stuck in the soil, use a screw driver or another object to loosen the soil first, and then remove the sensor.
3. Clean the moisture sensor after each use. Moisture sensors are inserted into the dirt, so it's not surprising that they get, well, dirty. Keeping the sensor clean helps it last longer and give better readings. Just remember to wipe it down and dry it off after each use.